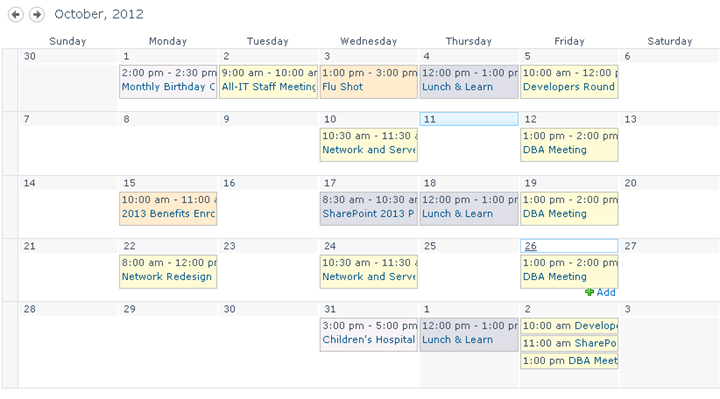
One of the most common requests I received as a SharePoint administrator was to color-code Events on a SharePoint Calendar. Users are accustomed to assigning colors to appointments in Outlook and other calendaring applications, so it’s natural to want that type visual organization in SharePoint as well. Unfortunately, in SharePoint 2007 and earlier, there was no built-in solution. It was such a common need that many administrators, developers, and power-users devised solutions using various types of code. These required the know-how to develop (or the know-how to research and try to adapt to your situation), and most end-users would not be comfortable with trying such a solution.
The good news is that SharePoint 2010 and SharePoint 2013 include functionality that can be leveraged to achieve this effect, with no code needed. It may not be a completely obvious solution when working with a single Calendar, though. The secret lies in the use of the Calendar Overlay.
How to Color-Code Events on a SharePoint Calendar
Typically this feature is used to roll up multiple Calendars (or lists with Calendar Views) into one master Calendar. Links to the sub-Calendars are included in the Calendar Overlay definition, a color is assigned to each sub-Calendar, and the user can easily understand which Events belong to which sub-Calendar. We teach this feature in detail in our two introductory SharePoint 2010 classes: Introduction to SharePoint 2010 – Using SharePoint Foundation 2010 and Introduction to SharePoint 2010 – Using SharePoint Server 2010.
What if I have Events on a single Calendar, but want to assign different colors to different types of Events, however? I might want meetings to be one color, deadlines another color, informational Events a third, HR Events a fourth, and so on. Colors cannot be applied ad hoc, but if I have the Events flagged in such a way that I can create a filtered View of those Events, I can then assign a color to those types of Events in a master View.
Add Metadata
The first step is to set up your Calendar with the appropriate metadata Column or Columns so that each event may be categorized. The Calendar has a built-in Category Column; you may wish to use this, or use it with modifications. You might also set up your own Column. For example, you might wish to categorize items on a Calendar based on the department or workgroup it belongs to. For the example below, though, I will modify the default Category Column.
- On the page for the Calendar you wish to work with, click the Calendar tab, then click List Settings.

- In List Settings, click the Category Column.

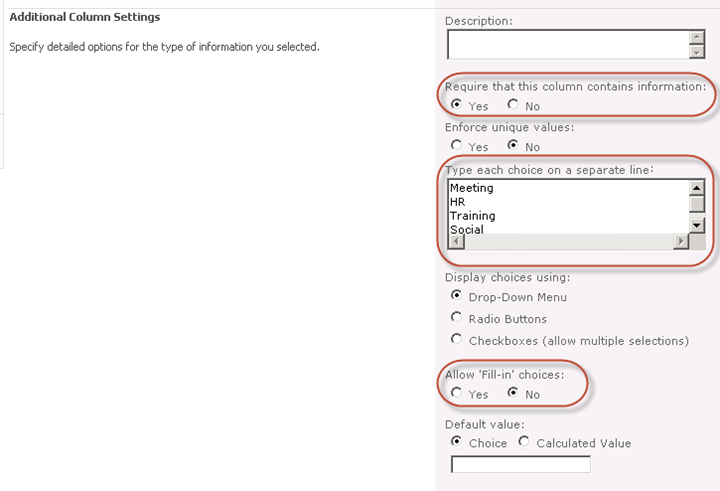
- Choose Yes for Require that this column contains information. Update the choices under Additional Column Settings, and change the setting for Allow Fill-in Choices to No
- Click OK.
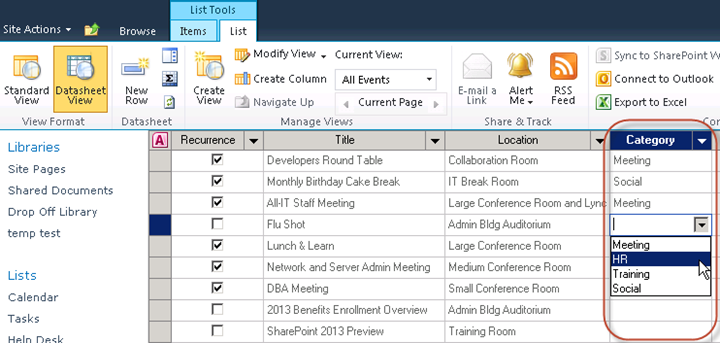
Once the Column has the desired options, update the existing Events to include the correct Category. (If you have many Events to edit, you may want to add the Category Column to the All Events View, then use Datasheet View to quickly edit each item.)
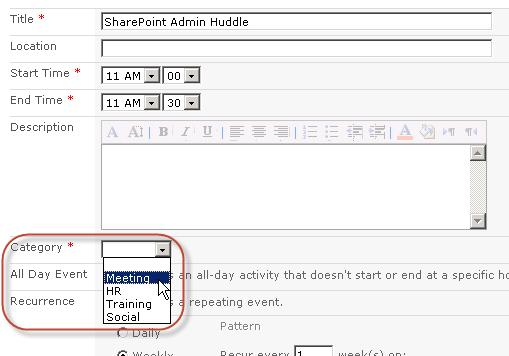
Any new Events will be categorized as they are created.
Create Views
- In the Calendar tab, click Create View.

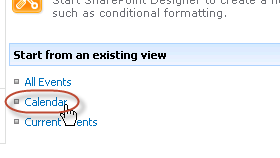
- You want to copy the default Calendar View and make a small change to it to add a filter. On the Create View page, click Calendar under Start with an existing view.
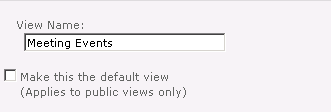
- On the Create Calendar View page, type a name in the View Name field (i.e., Meeting Events).
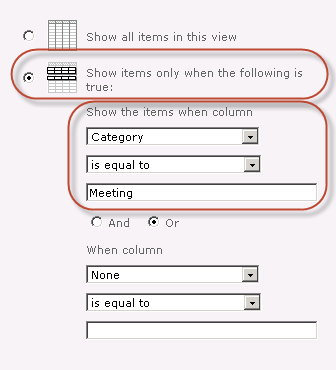
- In the Filter section, add settings to show only Events where the Category is Meeting. (Be careful to type the criteria exactly as it appears in the Column, including the correct case.)
- Click OK.
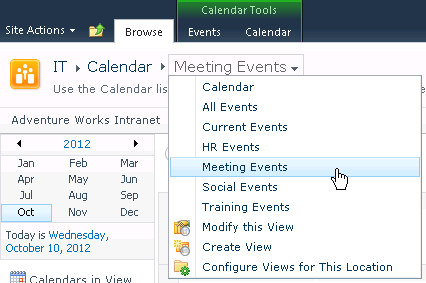
Create Calendars Overlay
- On the Calendar tab, click the Calendars Overlay button.

- On the Calendar Overlay
Settings page, add the Calendars (or in this case the Views of this Calendar) you wish to see by clicking the New Calendar link.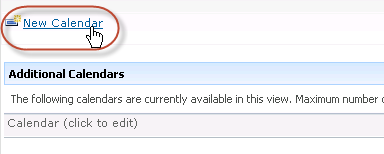
- On the New Calendar page, type in a name for the Calendar (in this case, a View of the same calendar).
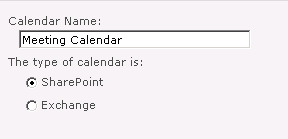
- Choose a color for this Calendar View. (The colors available will depend on the theme or color scheme for the site as a whole.)

- Next, SharePoint needs to know the URL of the site (or subsite) for the Calendar. By default, it fills in the URL of the subsite you are working with. In this case, that is correct. If you were trying to bring in a Calendar from another subsite, you would type or paste in that URL. With the correct URL in place, click the Resolve button.

- When the URL resolves, the List field just below will be populated. From this drop-down, choose the Calendar you are working with. There may be only one selection if there is only one calendar on this subsite.

- Next, choose the specific View you wish to use in the List View field.

- Click OK.
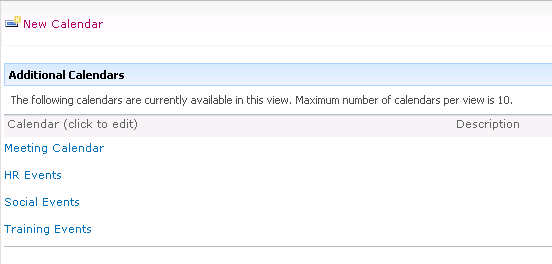
- You will be returned to the Calendar Overlay Settings page, where you’ll see the calendar addition.
- Repeat these steps to add the Calendar Views for HR, Social, and Training, choosing a different color for each.
- Return to the Calendar. Now each type of Event has its own color. In addition, you can use the buttons on the left to show only one type of Event at a time. There’s a lingering problem, though … each Event is listed twice, since the Calendars Overlay layers the other Calendars/Views on top of the Events that already show in the normal Calendar View. Therefore, we’ll need to tweak the normal Calendar View to hide the duplicates.
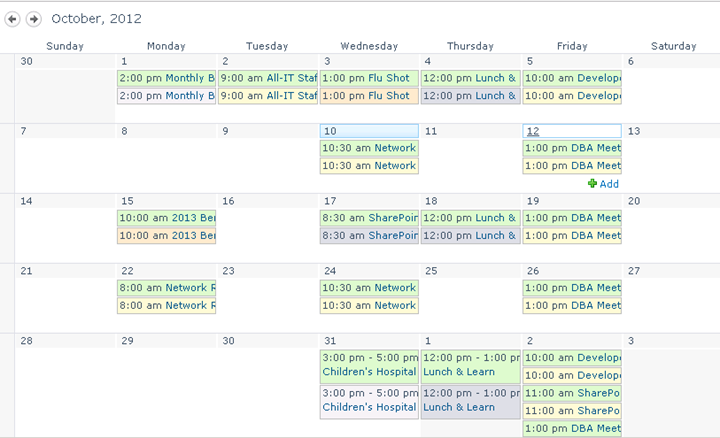
- In our Calendar, every item will have a Category; that Column will not be blank in any instance. Therefore, it will be easy to hide the Events in the default View with a Filter that is looking only for uncategorized items. To do this, go to the View selector in the navigation breadcrumb and choose Modify this View.
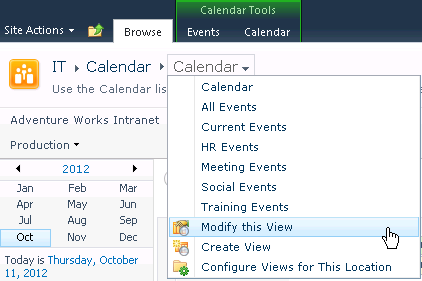
- In the Filter section, make selections to build a filter where the Category – is equal to – [blank].
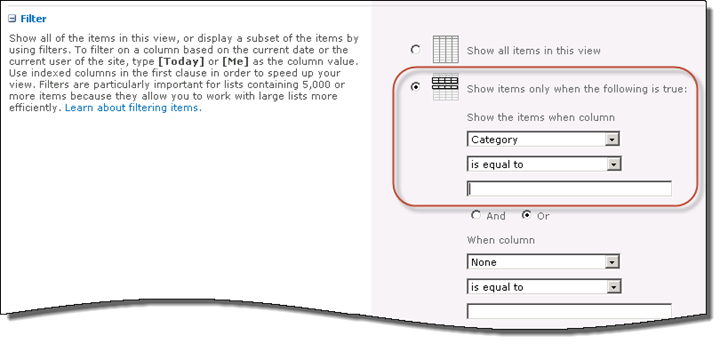
- Click OK.
- You will be returned to the Calendar with the Calendar View and the Calendars Overlay active. Since there are no Events in the normal Calendar View that have a blank Category, all items are hidden, but the overlaid views for each Category are visible with the color coding.
