SharePoint 2007 came with 23 out-of-the-box actions to fit many of the most common tasks needed in workflows. SharePoint 2010 comes with 44 out-of-the-box actions. All the original actions are still there, but you now have 21 more! Note: This post and all screenshots are from the Technical Preview and things may change before SharePoint 2010 is released to the public.
In SharePoint 2007, if you wanted to get approval from a user for something, you usually had to use the Collect Data from a User action, store a reference to the task ID for the task that was created, and then lookup the user’s input later in your workflow as needed. Microsoft has streamlined this process in SharePoint Designer 2010 with the actions for Assign Item for Approval, Assign Item for Feedback, and General Task Process. In this article, we’ll take a look at how these three actions work.
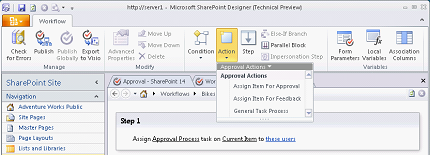
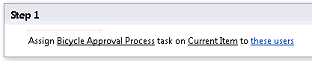
The first thing you will notice when you add any of these three actions to your workflow is that in the Editor, they all look identical. In the following screenshot I have added an Assign Item for Approval action to Step 1, and Assign Item for Feedback action to Step 2, and a General Task Process action to Step 3.
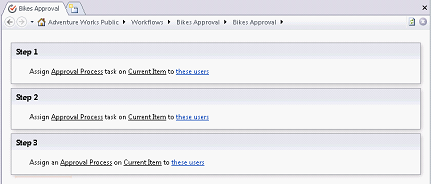
So, how can you tell them apart? You have to click on the Approval Process link for the action. When you do this, you will see a new page where you can define and customize that overall task process.
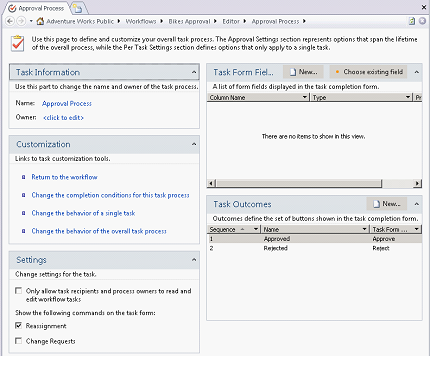
Let’s work our way around this page to explain what each section does.
Task Information
In the Task Information section there are only two options, you can change the name of the Approval Process and the Owner of the task.
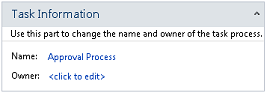
Both of these can be changed by clicking on the information you want to change. The Name is a meaningful name to you for this particular process. I recommend changing this to a descriptive name that will help you remember later what this particular process is for and to keep the various approval processes in your workflow distinct. The Owner is the owner or this process; you’ll see where this comes into play when we get to the Settings section.

When you change the Name here it also changes the name in the workflow editor.
Task Outcomes
The Task Outcomes section, you can define the various outcomes for this particular process. If you selected the Assign Item for Approval action, you will already have the options of Approved and Rejected listed here.
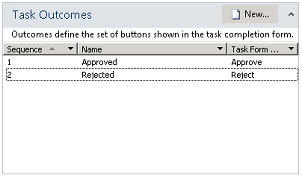
If you want to add other options, you can click the New button to add a new option. In the example here, I have added a Skipped option.

The items you list here will be listed as separate buttons on the task form and will be displayed in the Sequence order you select.
Task Form Fields
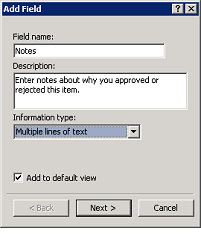
The Task Form Fields section allows you to collect other information in the task form. For example, if something is approved or rejected, you probably want the person who is doing the approving or rejecting to enter some notes about why the chose to approve or reject it.
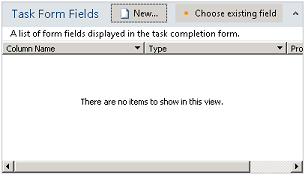
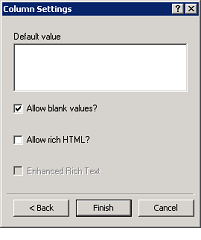
By clicking the New button, you can add your custom data fields to the form. There is a short wizard that will walk you through the process.
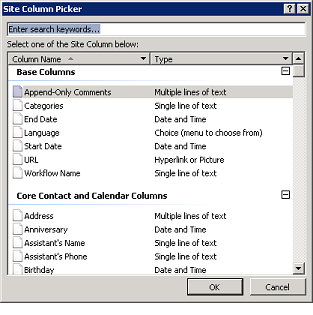
If you click the Choose existing field button, you will get a dialog box where you can choose from any of the Site Columns that are already available on your site. This can be incredibly handy since you can define the column one time and then reuse it as needed.
Settings
There are only three options in the Settings section.
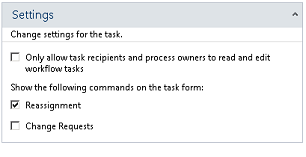
If you check the box for Only allow task recipients and process owners to read and edit workflow tasks then those are the only people who can do those activities. Do you remember when you could set the process owner in the Task Information box? Well, this is where that process owner is used.
There are also boxes to allow users to reassign the tasks and to change requests.
Customization
I’ve saved this section for last because it is probably the most complex of the five configuration sections.
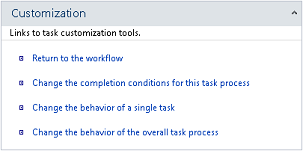
Clicking on the Return to Workflow link simply closes the Approval Process editing window and returns you to the workflow Editor.
If you click on Change the completion conditions for this task process you will be taken to the Check Exit Conditions section where you can see the underlying conditions that are part of this activity. This is probably where you begin to see how powerful these new Approval Actions really are. Here is a screenshot of the default page without making any changes:
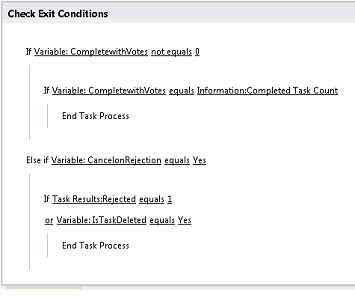
You can add more conditions here if needed, add steps and generally modify the process as you need.
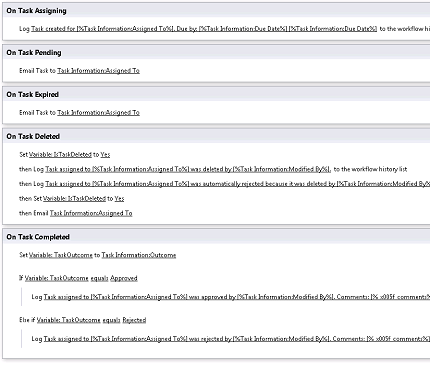
If you click on Change the behavior of a single task you will be taken to a place where you can see and change the behaviors for On Task Assigning, On Task Pending, On Task Expired, On Task Deleted, and On Task Completed. Within each of these, you can add your own conditions, actions, and steps. Here is a screenshot of the default page:
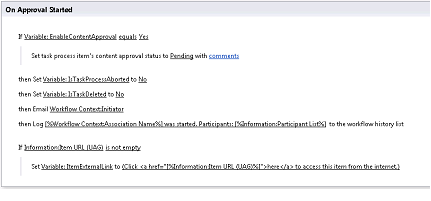
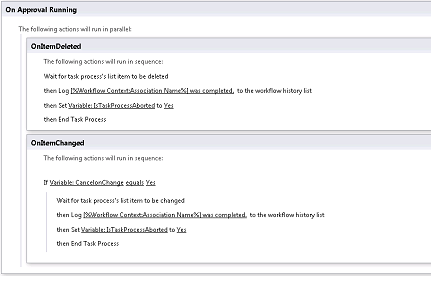
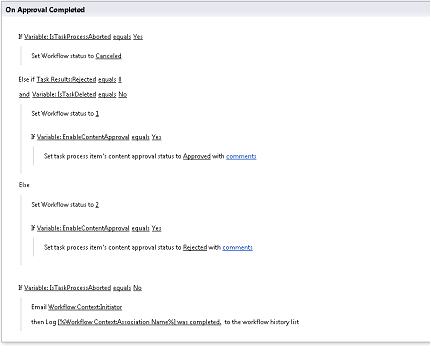
If you click on Change the behavior of the overall task process you will be taken to a place where you can see and change the behaviors for On Approval Started, On Approval Running, On Approval Canceled, and On Approval Completed. Once again, within each of these, you can add your own conditions, actions, and steps. Here are screenshots of the various sections of the default page:

Whew! That’s a lot of options and configurations that you can do! But were not yet finished! Remember that these were just he settings for the process. If you return to the workflow editor you’ll see that there are still two more options we haven’t looked at yet.
Item to Be Approved
You probably expect that the only item on which you can perform the Approval action is the current item. However, if you click on Current Item, you can change that to any list or library item you want.
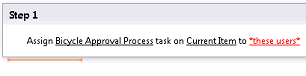
Assigned to Users
Another thing that I found frustrating in SharePoint 2007 was that I couldn’t customize the task and emails that they sent. When you click on the link in SharePoint 2010 to add users, you get a dialog box where you can customize task request, including the title and body that can include lookups. You can even add serial and parallel recipients and have multiple assignment stages.

Well, there you have it. You’ve gotten a general overview of the options for the new Approval Actions in SharePoint Designer 2010. If you are overwhelmed, I’m not surprised. In this post, we’ve only just barely scratched the surface of the great things you can do with SharePoint Designer Workflows in SharePoint 2010. You’ll probably need to take a class to learn it all. J